How to Run Your First Instagram Ad: A Beginner's Guide to Promoting Posts That Actually Work
Most people who run their first Instagram ad make the same mistake. They open Ads Manager, pick a budget, choose some interests, hit publish, and wait. A week later they spent $80, got a few hundred impressions, and have no idea if it worked. The problem was not the ad. It was everything they skipped before running it.
Running Instagram ads is not complicated. But it does require a foundation that most beginner guides skip over entirely. You need the right account setup. You need to know which of your posts are actually worth paying to promote. You need an audience strategy that does not burn your budget on guesswork. And you need an organic content calendar that is already running before you spend a single dollar on paid reach.
This guide covers all of it, in order, without assuming you have done any of this before.
Your Instagram Ad Strategy Starts Before You Open Ads Manager
Step 1: Set Up Facebook Business Manager and Connect Your Instagram Profile
Before you run your first Instagram ad, you need a Facebook Business Manager account and a connected Instagram Business or Creator profile. Skipping this setup step is the most common reason beginners get stuck before they even start.
Here is what that looks like in practice. Go to business.facebook.com and create a Business Manager account using your personal Facebook login. From there, add your Facebook Page, then connect your Instagram account under the Accounts section. If your Instagram is still a personal profile, switch it to a Business or Creator account first inside the Instagram app under Settings. The whole process takes about 15 minutes if you have your login details ready.
Why does this matter so much? Because Instagram ads run through Meta's ad infrastructure, not through the Instagram app itself. When you try to run a real ad without this setup, you hit a wall. You either cannot access Ads Manager at all, or your Instagram account is not available as a placement option. A lot of beginners spend an hour confused about why nothing is working, and the answer is almost always that Business Manager is not set up correctly.
Once Business Manager is live, also set up your Meta Pixel if you have a website. Go to Events Manager inside Business Manager, create a Pixel, and install it on your site. This one step makes conversion tracking possible later. Without it, you are flying blind on whether your ads are driving purchases or sign-ups. Do not rush this part. A clean account setup saves you hours of troubleshooting later.
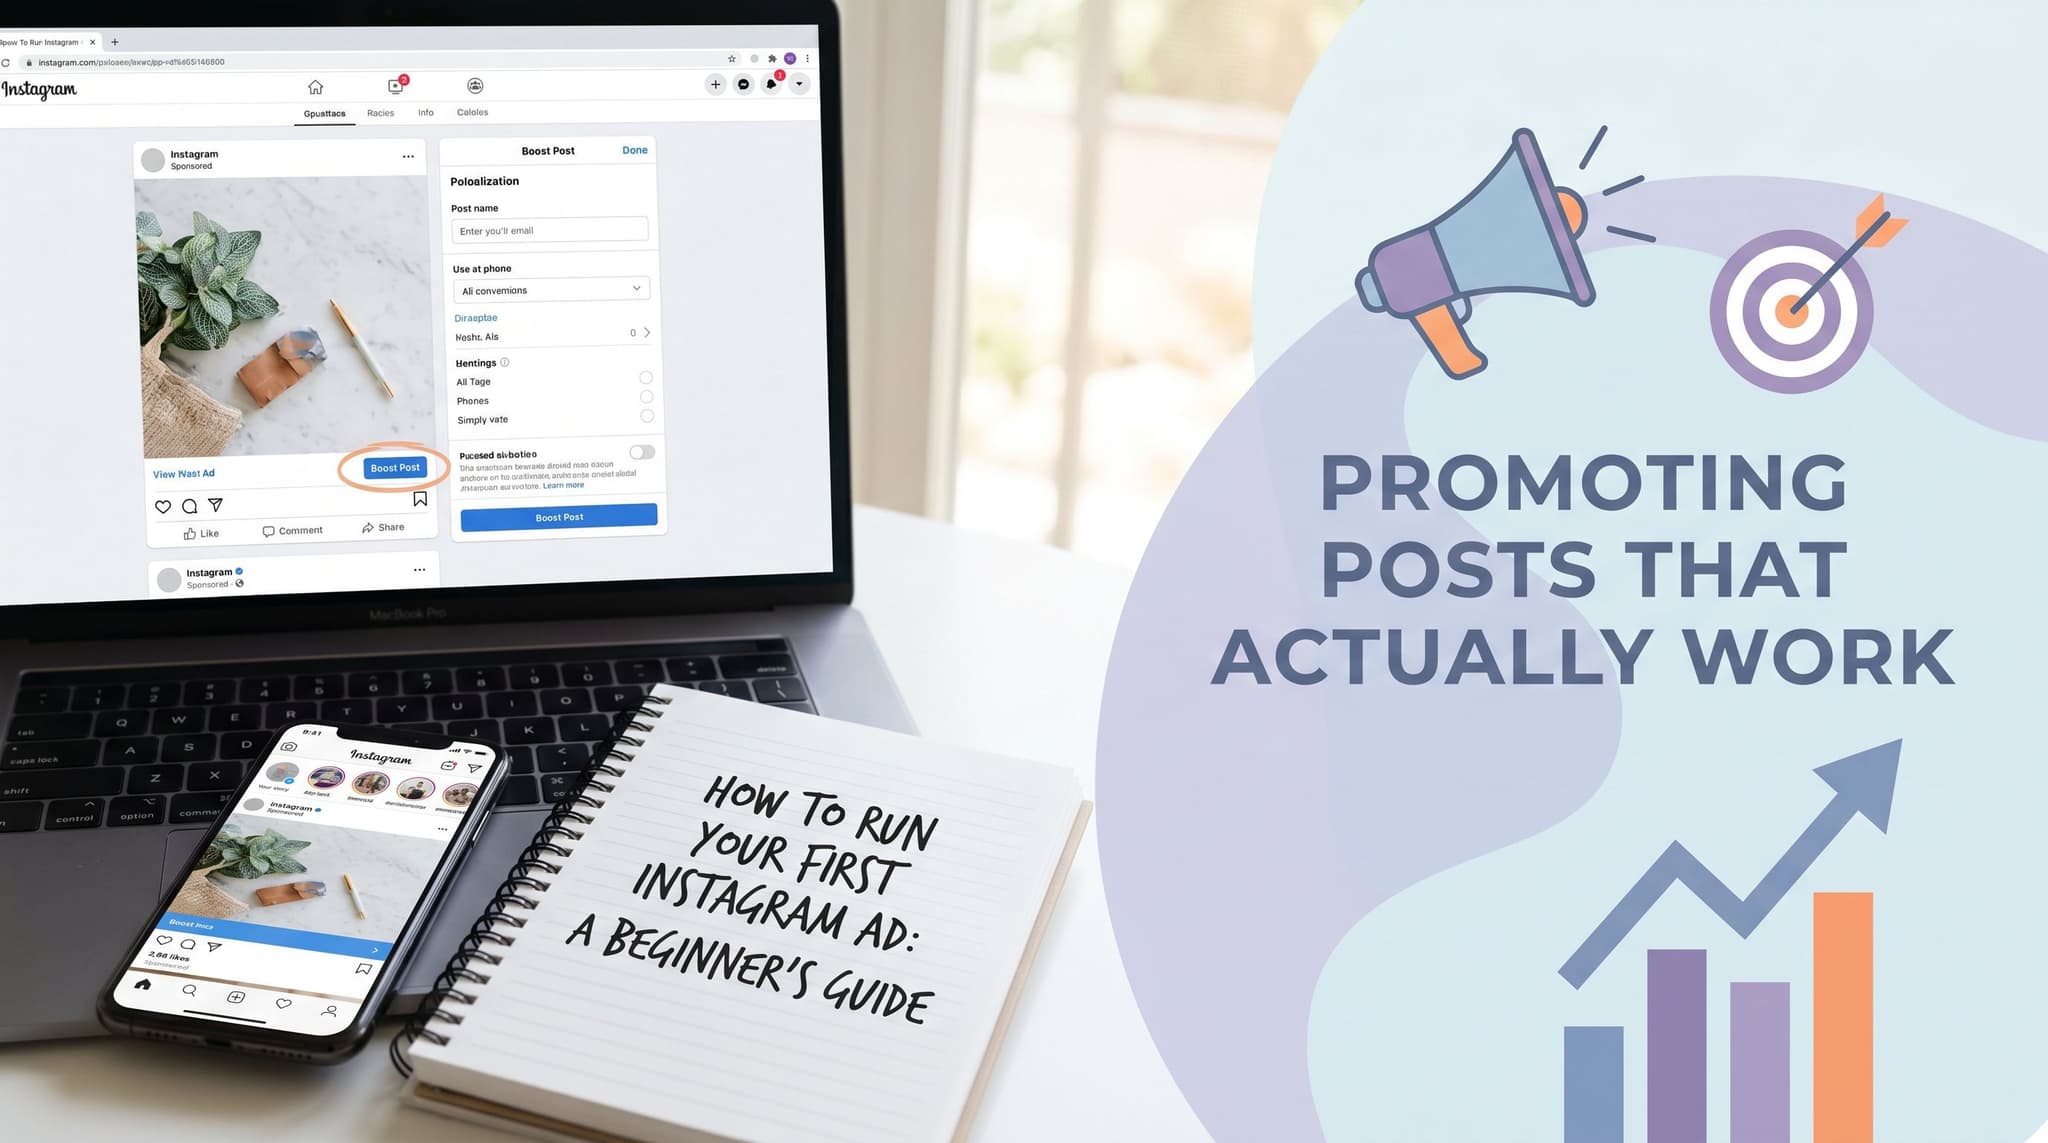
Boost vs. Ads Manager: Know the Difference Before You Spend
Boosting a post and running a proper Instagram ad are two different things. Boosting is one click and limited control. Ads Manager gives you audience targeting, placement options, budget caps, and real performance data you can act on.
When you tap Boost Post on Instagram, you get three options: a goal, a rough audience, and a budget. That is it. Instagram makes the decisions for you. It is fine for getting a few extra eyes on something quickly, but you cannot control where the ad shows up, you cannot build a custom audience, and the data you get back is surface-level at best.
Ads Manager is a different tool entirely. You pick your campaign objective, which might be traffic, leads, conversions, or reach. You build your audience from scratch or use a saved one. You choose placements across Instagram Feed, Stories, Reels, Facebook, and Audience Network. You set daily or lifetime budgets with end dates. And you get detailed reporting broken down by age, gender, placement, and time of day.
For a beginner, the boost button feels safer because it is simple. But simple usually means expensive for what you get. A $50 boosted post with no targeting controls often performs worse than a $30 Ads Manager campaign built with even basic audience settings. Learn Ads Manager from the start. The learning curve is real but short, and the control you gain is worth it.
Which Posts Are Worth Promoting?
Your organic content calendar directly informs which posts are worth promoting. Posts that already perform well with your existing audience are your best candidates for paid amplification, not your newest or prettiest ones.
This is a mistake almost every beginner makes. They create a beautiful new post, feel excited about it, and immediately put $50 behind it. But that post has no track record. You do not know if the message lands, if the image stops people from scrolling, or if the call to action makes sense to someone who has never heard of you.
Your organic posts tell you all of this for free. A post that got strong saves and shares with your existing audience has already proven it resonates. That is the one you pay to put in front of more people. Look at your last 30 to 60 days of posts. Sort by saves, shares, or profile visits, not likes. Likes are passive. Saves and shares show that someone found the content useful or wanted to come back to it. Those signals translate into paid performance.
If you use a tool like Aidelly to manage your content calendar, you can track which posts are hitting across platforms and flag the ones worth amplifying before you ever open Ads Manager. That connection between organic performance and paid strategy is where a lot of small businesses leave money on the table.
Building Your First Audience Without Wasting Budget
Why Interest Targeting Alone Burns Money
Audience targeting is where most beginners waste money. The instinct is to open Ads Manager, click into Detailed Targeting, and start typing interests. Fitness. Entrepreneurship. Small business. Healthy eating. It feels productive. You are building an audience. But what you are actually doing is guessing.
Interest targeting on Meta is broad. When you target people interested in fitness, you are reaching everyone from casual gym-goers to professional trainers to people who liked one fitness post three years ago. The overlap between your ideal customer and that giant pool is small, and you are paying to reach the whole pool.
This is especially painful for beginners because you do not have enough data yet to know which interest combinations work. You end up with a $100 campaign that reached 8,000 people and got 12 clicks, and you have no idea why it failed because the audience was too vague to diagnose.
Start With a Lookalike Audience
Start with a Lookalike Audience based on your existing followers or customer list rather than manually guessing interests and demographics from scratch.
A Lookalike Audience is exactly what it sounds like. You give Meta a source, your current followers, your email list, your website visitors, or your past purchasers, and Meta finds people on the platform who look like that source. Same behaviors, same demographics, similar interests. It is not perfect, but it is far more accurate than cold interest targeting because it is based on real people who already chose you.
To build one, go to Audiences inside Ads Manager. Click Create Audience, then Lookalike Audience. Choose your source. If you have fewer than 1,000 people in your source, use your Instagram followers. If you have a customer list of 500 or more emails, upload that instead. Set the audience size to 1 percent of the country you are targeting. That gives you the closest match. A 1 percent Lookalike of the US is still about 2 million people, which is plenty of reach for a beginner campaign.
Run your first campaign to this audience before you touch interest targeting. See how it performs. Then you can layer in interest filters to narrow it down once you have baseline data to compare against.
Budget, Placement, and Format for Your First Campaign
Keep your first campaign simple. Set a daily budget of $10 to $20 and run it for 7 days. That gives the algorithm enough time to optimize without burning through money while it learns. Do not set a lifetime budget on your first try because it is harder to control if you want to pause early.
For placements, start with Automatic Placements and let Meta decide. Once you have data, you can see which placements delivered the lowest cost-per-result and cut the rest. For format, use whatever format your best-performing organic post used. If it was a Reel, run a Reel ad. If it was a static image, run that. Do not change the format just because you are paying for it. The format already worked organically. Trust that signal.
One more thing: write your ad copy the same way you write your organic captions. People can smell an ad that sounds like an ad. If your organic voice is casual and direct, keep it that way. If you suddenly sound like a press release, people scroll past. Consistency in voice is part of what makes paid content feel worth clicking.
Tracking Results That Actually Mean Something
Connect Your Ad Goal to a Real Business Outcome
Tracking results means more than watching likes go up. You need to connect your ad goal to a measurable outcome like website visits, DM starts, or product purchases, and check your cost-per-result against your actual business numbers.
Here is what that looks like in practice. Say you sell a $97 online course. You run a traffic campaign to a landing page. After 7 days, you spent $70 and got 140 clicks. Your landing page converts at 3 percent, so you got about 4 purchases. That is $388 in revenue from $70 in ad spend. Your cost per purchase was $17.50. That is a number you can work with.
Now compare that to someone who ran the same campaign, looked at their reach number, saw 12,000 impressions, felt good about it, and had no idea if it drove a single sale. That is what happens when you do not connect your ad goal to a real outcome. Impressions and reach are not business results. Purchases, sign-ups, and DM conversations are.
Set your campaign objective based on what you actually want to happen. If you want people to buy, choose Conversions and make sure your Pixel is firing correctly on the thank-you page. If you want people to message you, choose Messages. If you want them to visit your site, choose Traffic and track it in Google Analytics or your website platform. Match the goal to the outcome, then measure cost-per-result against what that result is worth to your business.
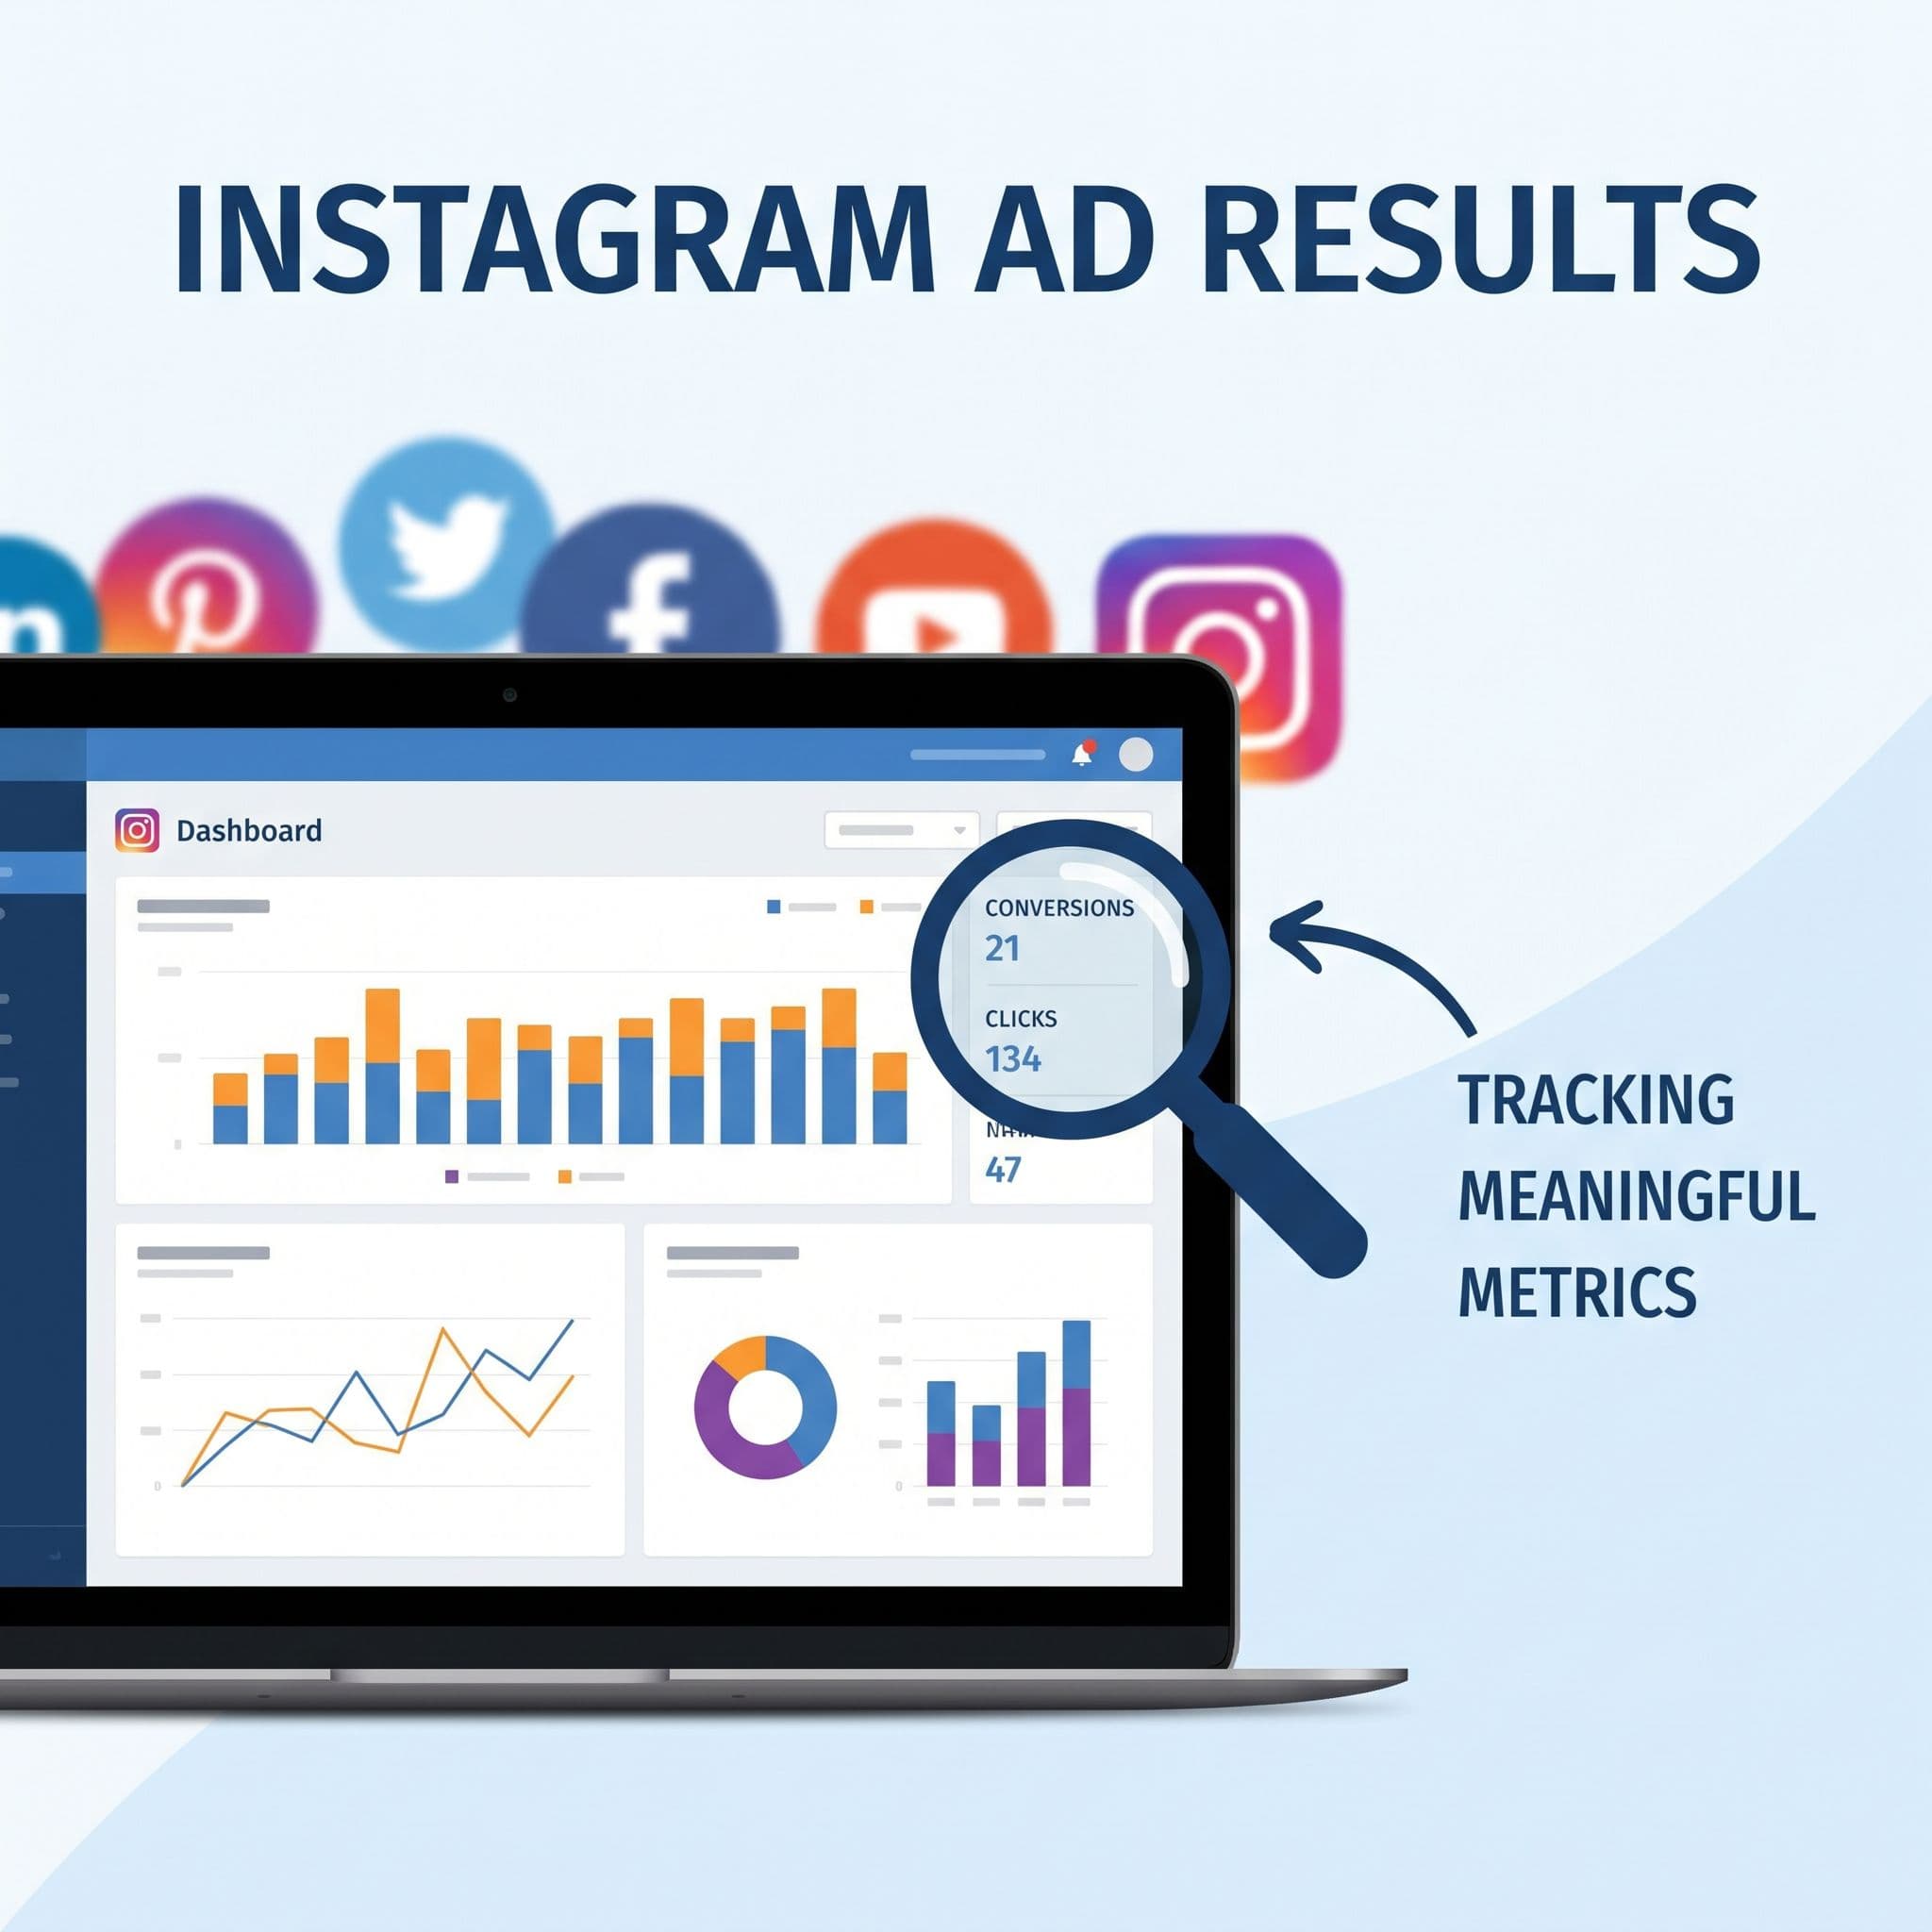
What to Do With Your Data After 7 Days
After your first 7-day campaign, you have real data to work with. Look at three things: cost-per-result, click-through rate, and which placement or creative performed best.
If your cost-per-result is higher than what that result is worth to you, you have a problem in one of three places. The audience is wrong, the creative is not stopping people from scrolling, or the landing page is not converting. Test each one separately. Change the audience first because it is the biggest variable. If cost-per-result improves, the audience was the issue. If it does not, look at your creative next.
Click-through rate tells you if the ad itself is working. A CTR below 0.5 percent on a cold audience usually means the image or video is not compelling enough. Between 1 and 2 percent is solid for most beginner campaigns. Above 2 percent means you have something worth scaling. Use these benchmarks as a starting point, not a hard rule, because every niche and audience behaves a little differently.
Scaling What Works
Once you find a campaign with a cost-per-result you can live with, scale slowly. Increase your daily budget by 20 percent every 3 to 4 days instead of doubling it overnight. Doubling a budget resets the algorithm's learning phase and often tanks performance. Small, steady increases keep the momentum going without disrupting what is already working.
Also resist the urge to change your creative or audience while the campaign is still in its learning phase, which is typically the first 7 days or the first 50 optimization events, whichever comes first. Meta needs consistent signals to optimize. Every time you make a significant change, the clock resets. Make one change at a time, wait for enough data, then decide. Patience here is a real competitive advantage because most beginners keep poking at their campaigns and never let them stabilize.
Why Your Organic Content Is the Real Foundation
Paid Traffic Needs Somewhere Worth Landing
Running ads without a consistent organic posting schedule underneath them is like paying to send people to an empty store. Your profile needs active, on-brand content so paid traffic has somewhere worth landing.
Think about what happens when someone sees your ad, gets curious, and taps your profile. What do they find? If your last post was 6 weeks ago, they leave. If your grid looks inconsistent, off-brand, or random, they leave. If there is nothing that tells them who you are and why they should follow or buy, they leave. You just paid for that click and got nothing back.
An active, consistent organic presence does three things for your paid campaigns. It builds trust before someone clicks your ad. It gives people a reason to follow you after they click. And it keeps your brand in front of warm audiences between paid pushes so you are not starting from zero every time you run a new campaign. The organic calendar is not optional. It is the infrastructure your ads run on top of.
Staying Consistent Without Burning Out
The reason most small business owners let their organic presence slip right when they start running ads is simple. Running ads takes mental energy. You are learning a new tool, watching a budget, reading data. And somewhere in there, the organic posting schedule falls apart because it feels like the lower priority.
But that is exactly when consistency matters most. Paid traffic is bringing new eyes to your profile. If those eyes land on a profile that has not posted in two weeks, you have a credibility problem that no ad can fix.
This is where a tool like Aidelly earns its place. Aidelly's agentic workflows handle content creation, scheduling, and publishing automatically, so your organic calendar keeps running even when your attention is on your ad campaigns. You set up your brand voice, your posting schedule, and your content themes once. The AI agents handle the rest. You do not have to choose between managing your ads and keeping your feed active. Both can run at the same time without you dropping the ball on either one.
Using Your Content Calendar to Plan Around Ad Campaigns
A planned content calendar also lets you be strategic about what goes live when you are running ads. If you are promoting a product launch, your organic posts in the same week should support that narrative. Behind-the-scenes content, customer stories, FAQs about the product. All of it warms up the audience that your ad is also reaching.
With Aidelly's visual content calendar, you can map out your organic posts alongside your planned ad periods so nothing conflicts and everything reinforces the same message. That kind of coordination between paid and organic is what separates businesses that get consistent results from ones that get occasional lucky campaigns.
When your organic content and your paid campaigns are telling the same story at the same time, every dollar you spend on ads works harder. The person who saw your ad and then saw three organic posts about the same topic in their feed that week is far more likely to convert than someone who only saw the ad once. Repetition builds trust, and trust drives purchases. Use both channels together and let each one make the other stronger.
Running your first Instagram ad is not about finding the perfect creative or the magic audience. It is about building the right foundation first: a Business Manager account that is set up correctly, an organic content calendar that is already running, and a clear connection between your ad goal and a real business result. Get those three things right and the ads themselves become much simpler to manage.
The businesses that get the most out of paid Instagram promotion are not the ones with the biggest budgets. They are the ones with active, consistent profiles that give paid traffic somewhere worth landing, and a system in place that keeps organic content flowing without requiring constant manual effort.
If keeping up with your content calendar is the thing that keeps slipping, that is the problem worth solving first. When your organic presence is running on autopilot, you free up the mental space to actually learn paid advertising and make it work.
If you want a low-lift way to apply these ideas, Aidelly helps you keep your social content consistent without extra busywork.Running Instagram ads while keeping up with organic posting is a lot to manage on your own. Aidelly's agentic workflows handle the content creation, scheduling, and performance analysis for you, so your profile stays active and on-brand without you having to think about it every day. When your organic presence runs itself, you can put your focus where it matters. See how it works at aidelly.ai.
Compare Social Scheduling Tools
Evaluating software for your content workflow? Use our buyer guides and comparisons to compare scheduling, approvals, analytics, and AI workflow fit.
Share this article
Related Articles
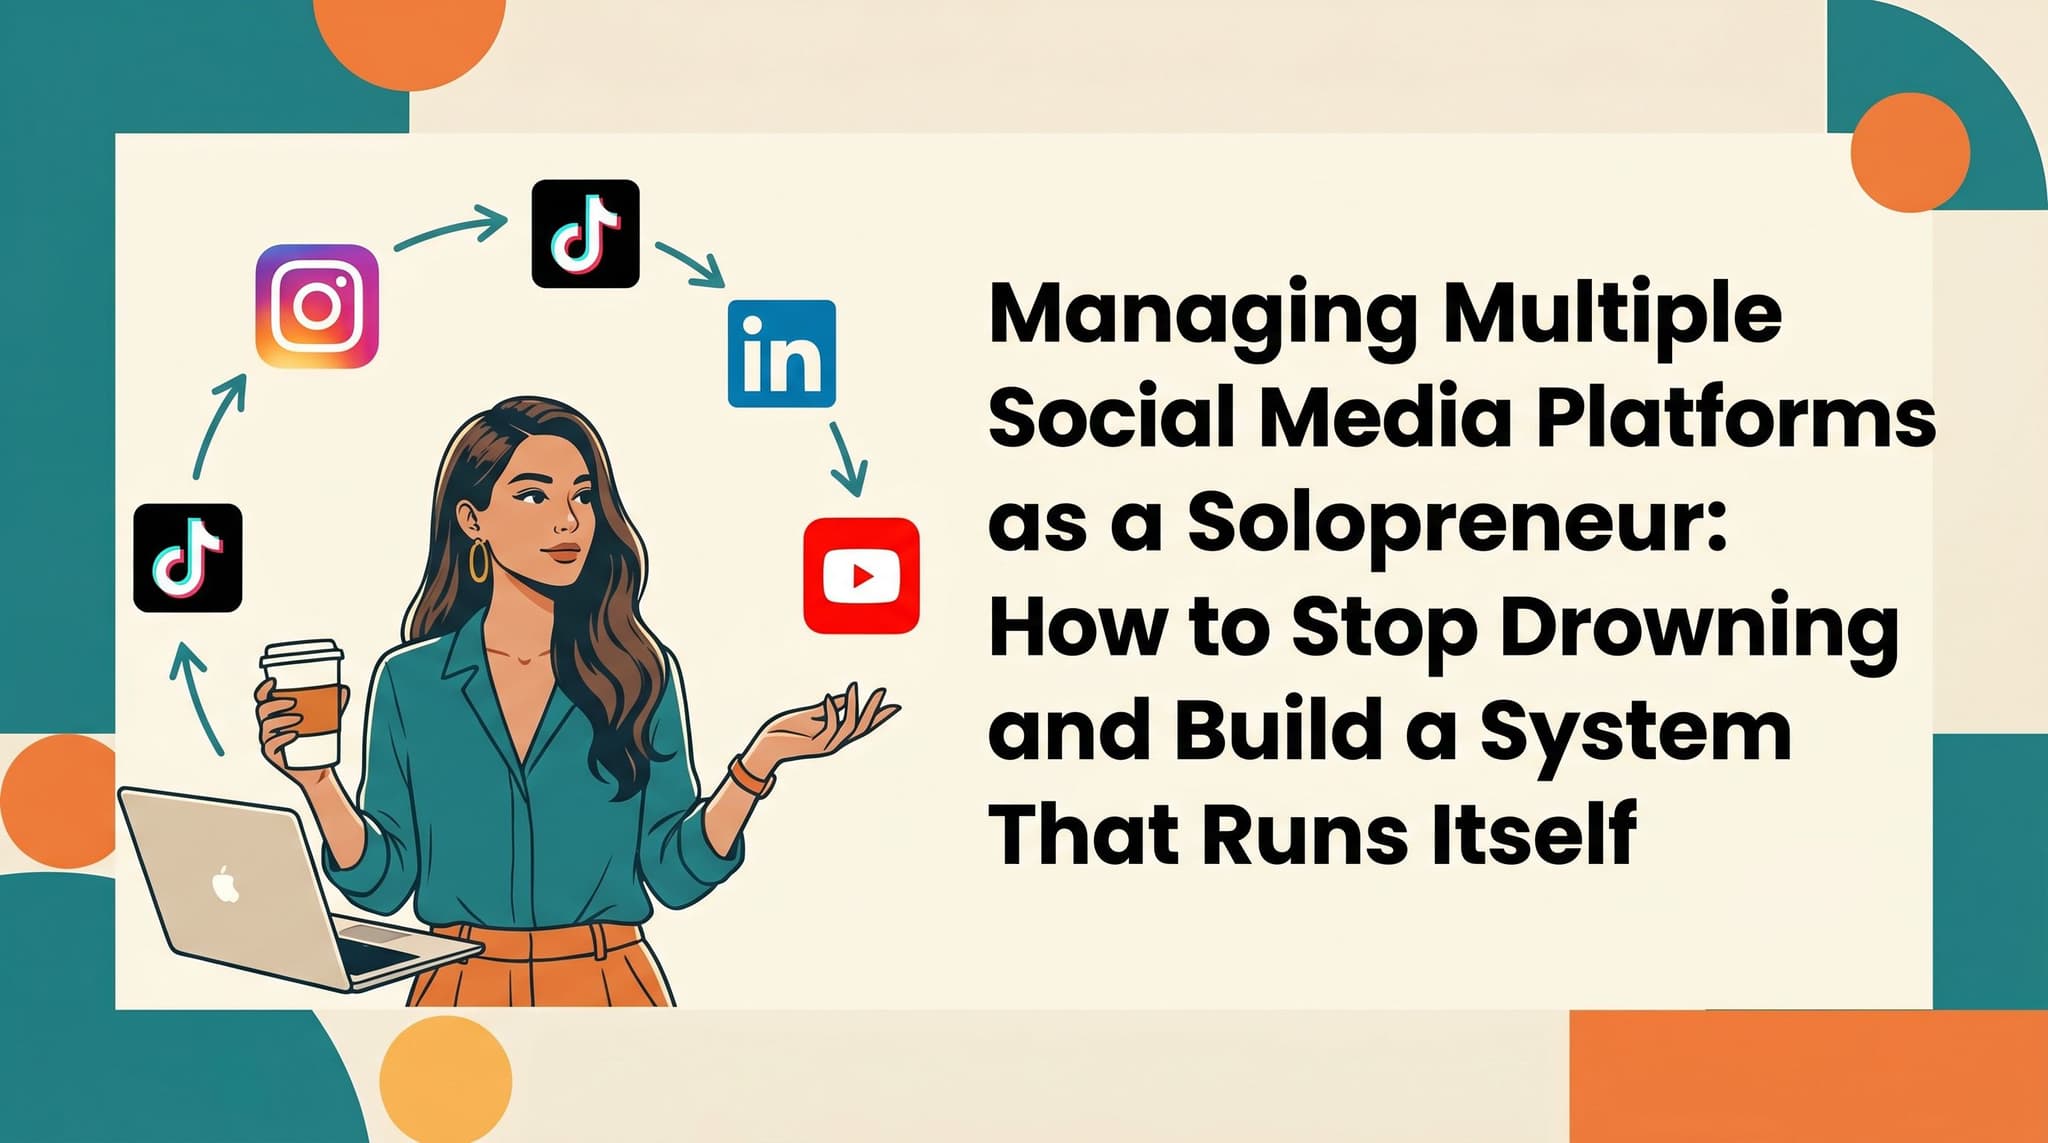
Managing Multiple Social Media Platforms as a Solopreneur: How to Stop Drowning and Build a System That Runs Itself
Most solopreneur social media advice tells you to post more consistently, use better hashtags, or batch your content on Sundays. That advice is not wrong. But it misses the real problem. The real problem is that you are doing everything manually, platform by platform, day by day, and the system depends entirely on you showing up. When client work gets busy, the content stops. When you take a week off, the pipeline dries up. This article is not about tips. It is about building a system that keeps running even when you are heads-down on a project. We will cover why solopreneurs lose so much time to social media tasks that could be automated, how to keep your brand voice consistent across four or five platforms, and how agentic AI workflows are changing what it means to manage social media alone in 2026.
May 3, 2026
Read more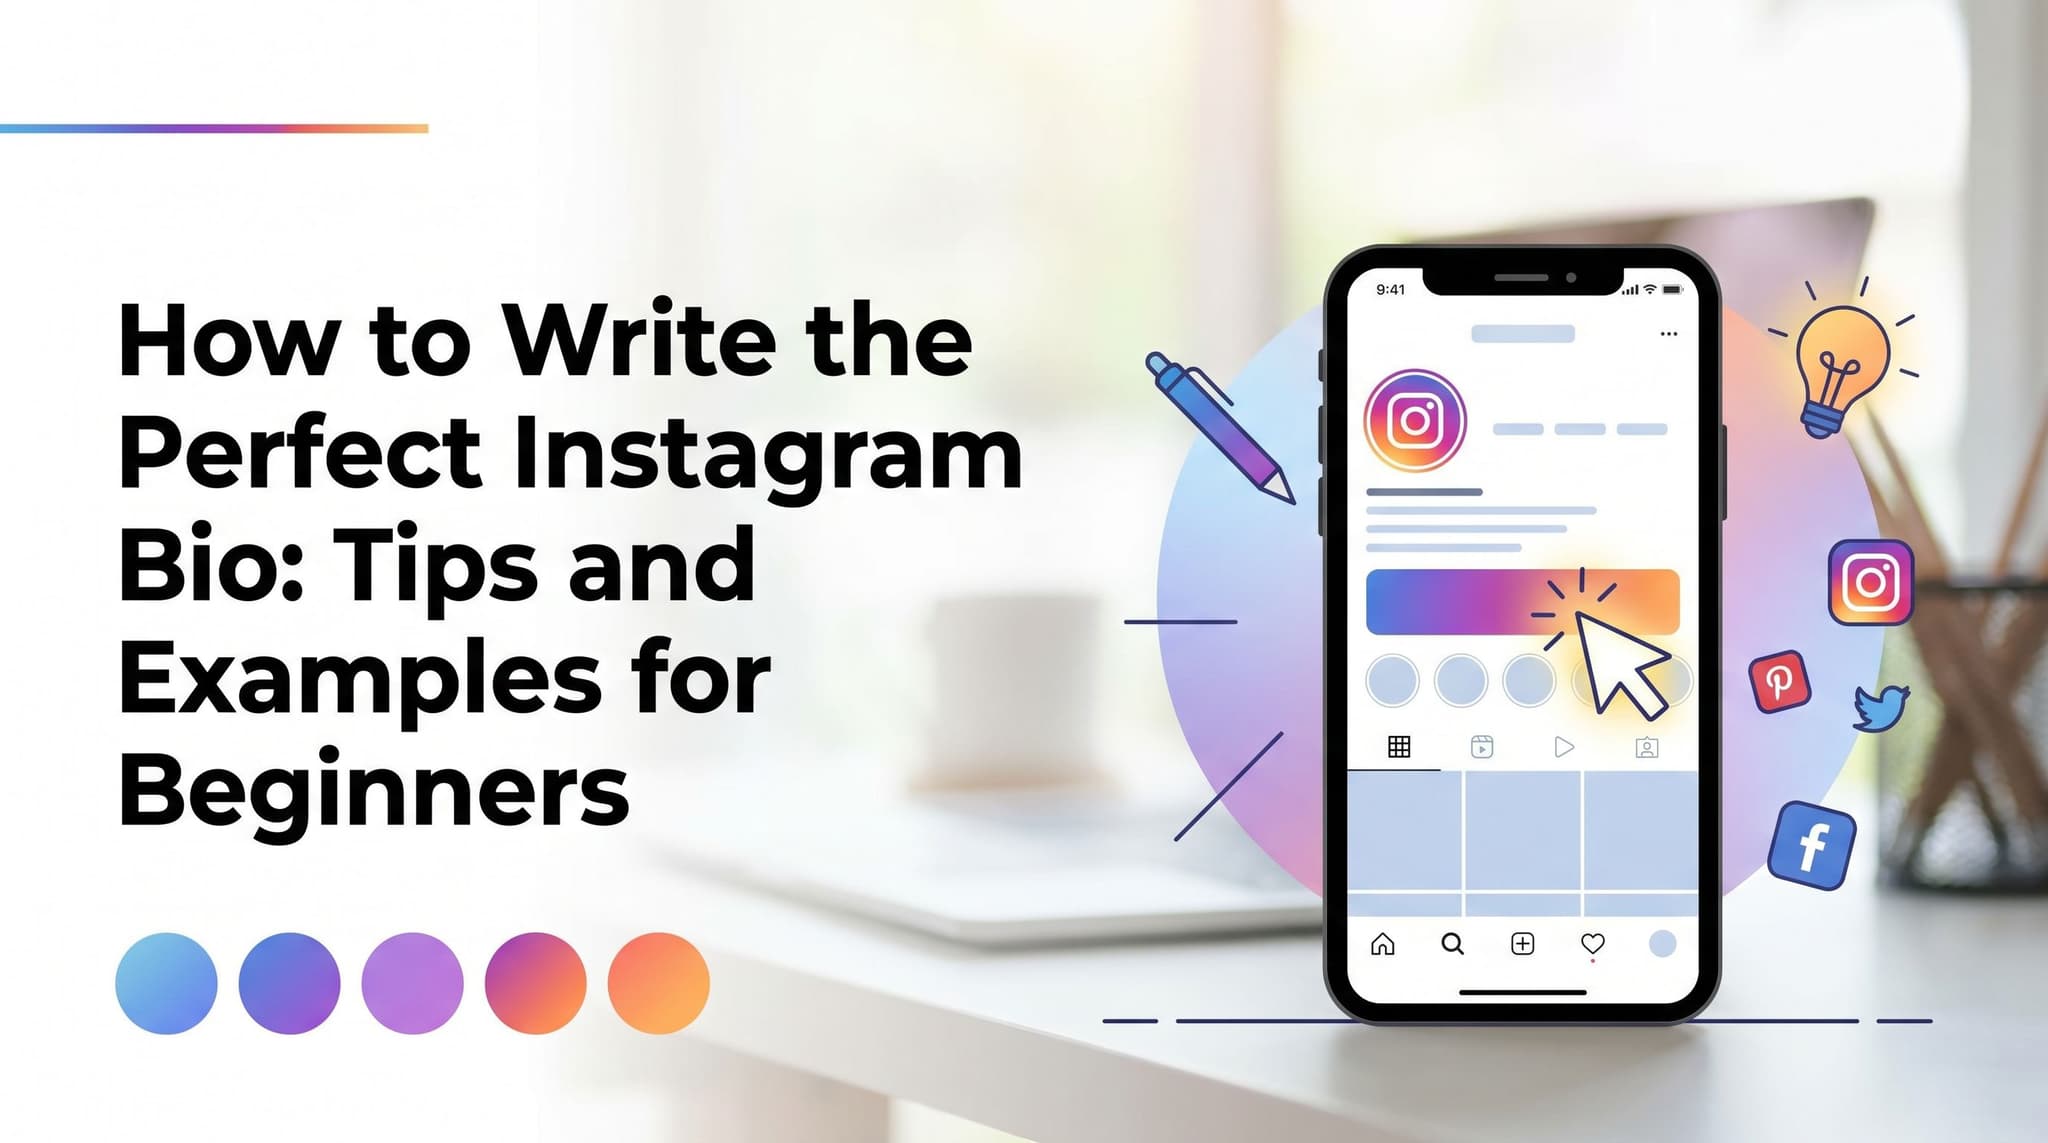
How to Write the Perfect Instagram Bio: Tips and Examples for Beginners
Your Instagram bio has 150 characters to do a big job. It needs to tell someone who you are, what you do, and why they should follow you — all before they scroll away. Most beginners get this wrong. They write something vague like 'coffee lover | dreamer | mom of 3' and wonder why profile visitors don't stick around. This guide walks you through exactly how to write a bio that converts visitors into followers. You'll learn the four-part structure that works for almost any niche, how to use your name field to show up in search, why your link in bio matters more than you think, and how to match your bio promise with your actual posting schedule. Whether you're a coach, a real estate agent, a small business owner, or a creator just getting started, this is the practical breakdown you've been looking for.
May 3, 2026
Read more
How Consistent Posting Builds Trust (and Why That's Critical for Your Service Business)
Most service business owners know they should post on social media more consistently. They just don't do it. Not because they're lazy or don't care, but because posting consistently is genuinely hard when you're also running the business, serving clients, handling admin, and trying to have a life. The result is a familiar pattern: a burst of posts in January, a few in March, then silence until something jolts you back into action. That pattern is costing you clients you never even knew were considering you. This article isn't about posting tips or content ideas. It's about why inconsistency is a workflow problem, not a discipline problem, and how fixing the system fixes the trust signal your business sends to every prospect who checks your profile before they ever reach out.
May 2, 2026
Read moreReady to never miss a post again?
Tell Aidelly what to post. It drafts, schedules, and publishes across 9 platforms while you focus on your business.